My Basket (0)
Recently added item(s)×
My Basket (0)
Recently added item(s)×

For new build – ensure tiling battens are extended 30mm beyond the gable wall or bargeboard. Fix a batten end clip to the end of every batten using a 40mm (min) x 3.25mm ring shank nail.
For refurbishment – it is recommended that all existing mortar is removed. Run a suitable batten from eaves to ridge, below the undercloak on the gable wall or directly to the bargeboard.
Fix the starter plate to the gable wall or bargeboard, ensuring the location guide is on top of the tile.
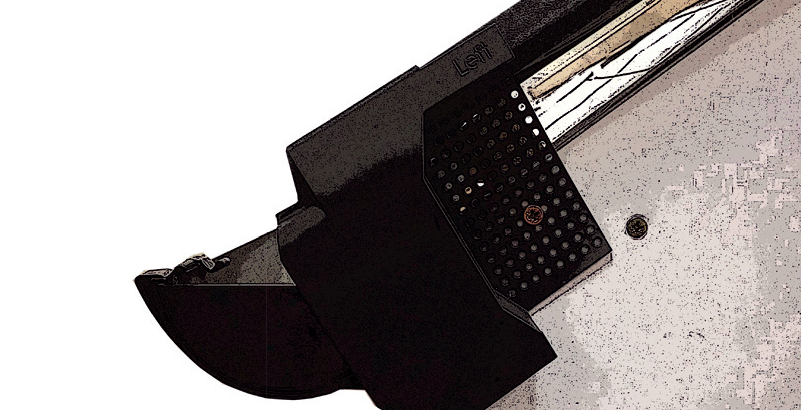
Fix the first Verge Wizard in place by clipping over the starter plate and ensuring the top of the verge unit is under the tile above. Fix into position through the batten end clip or running batten depending on your project.
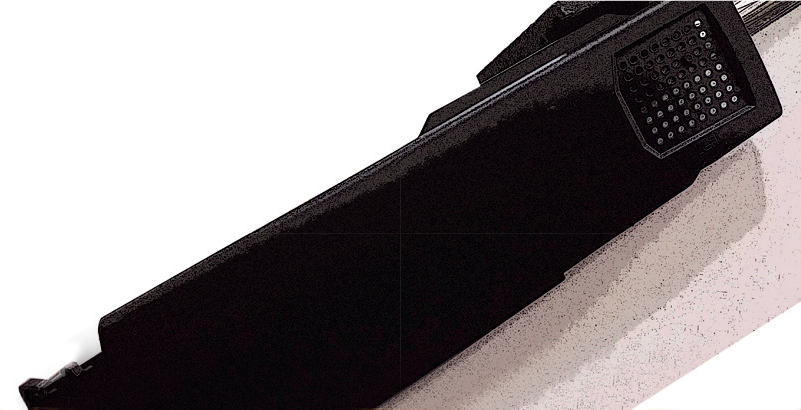
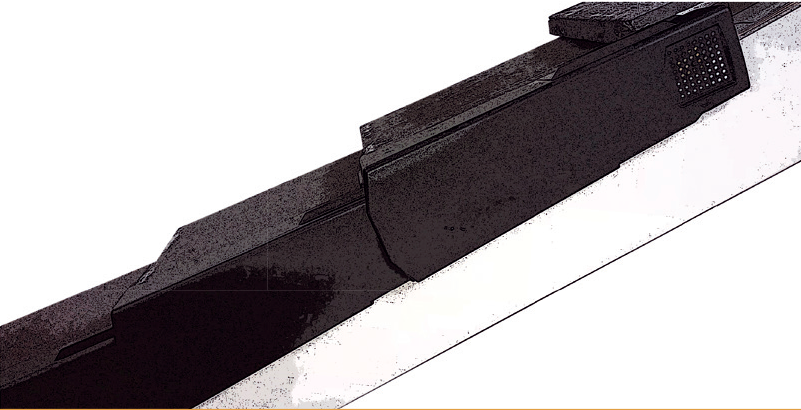
For each successive Verge Wizard simply flex and clip over the verge below and slide up to the tile toe. Fix into position through the batten end clip or running batten depending on your project. Continue this process until you reach the ridge.
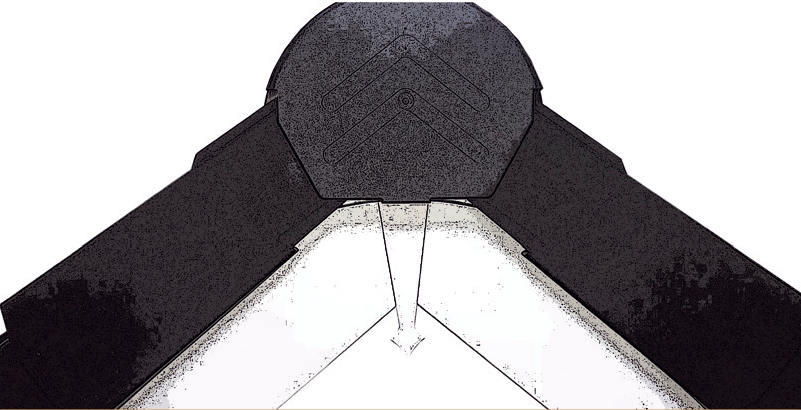
Flex and clip the ridge cap over the ends of both units, central to the ridge tile, and securely screw to the ridge batten.