
 My Basket
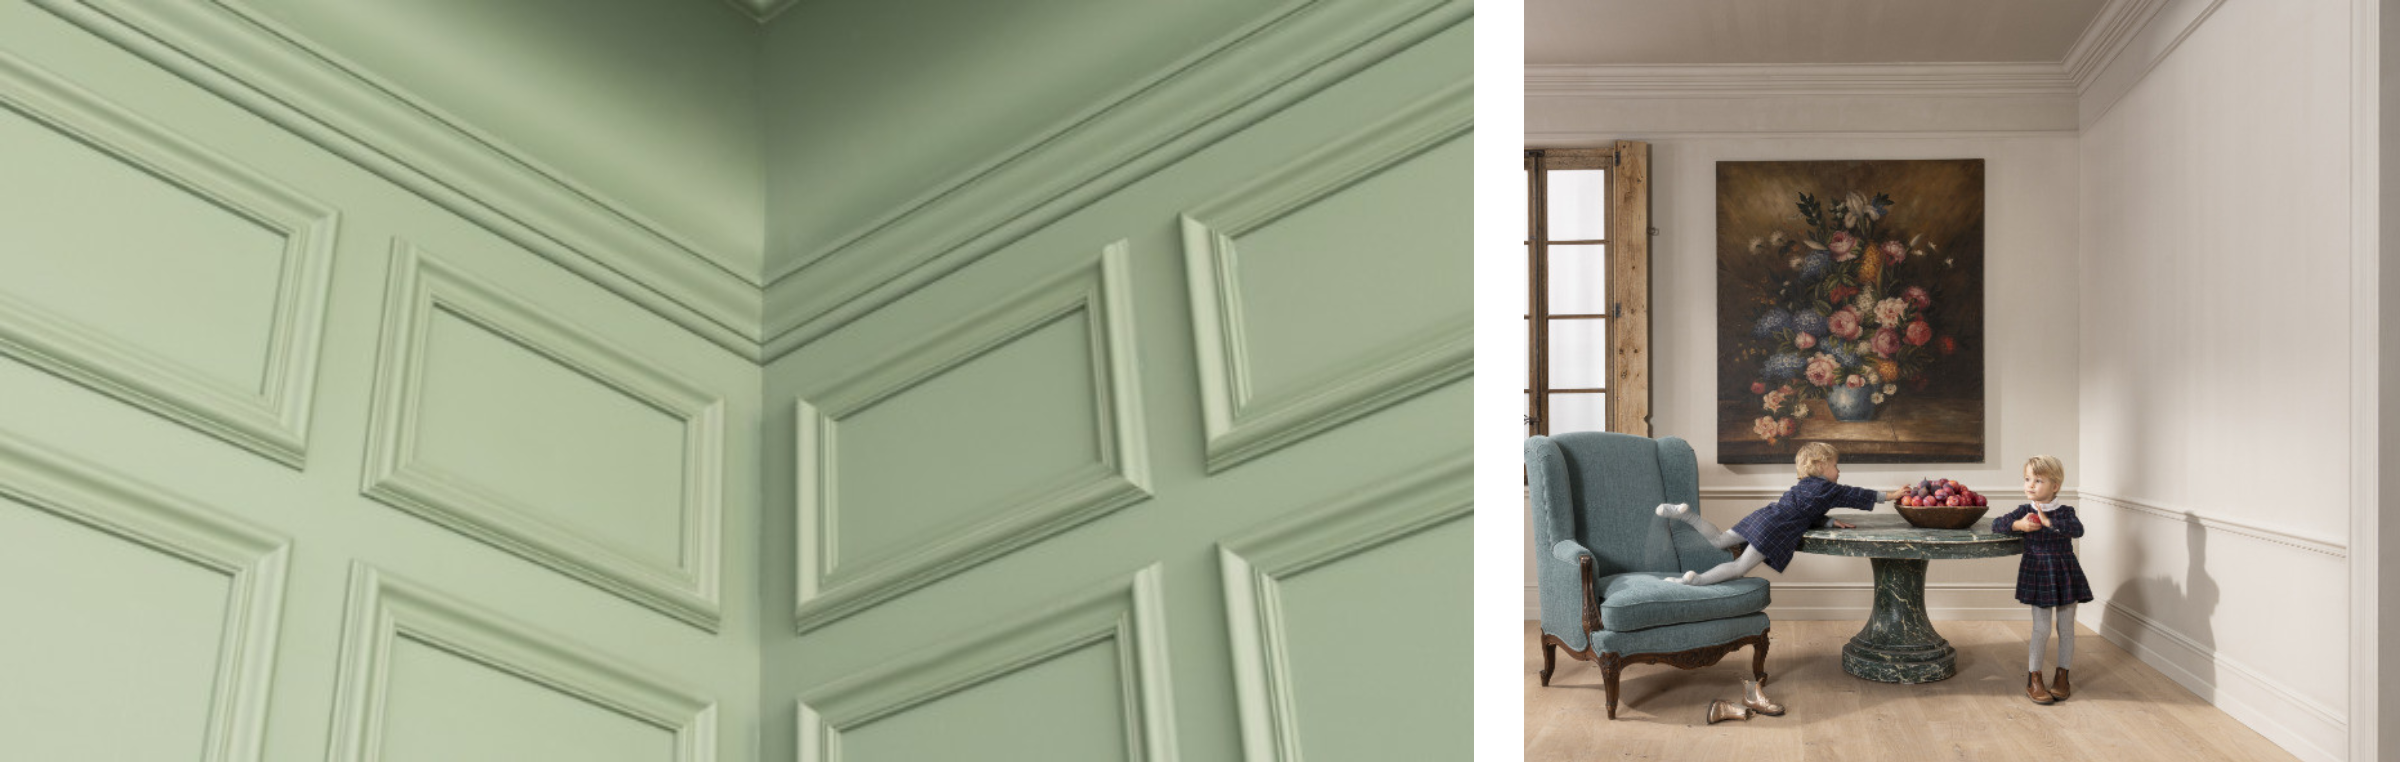
Installing coving around the rooms in your property can really take the feel of the space to the next level.
Whether you are trying to achieve a classic, period look or perhaps a bold art-deco statement, our range of cornices and covings can suit pretty much any style. On top of that, they are paintable, scratch and water resistant, made expertly crafted and flexible!
What we really love about our coving is that it is so easy to install – so read on and find out just how simple the process is!

Preparation
Having the correct atmosphere and prepared surface is important when using our coving products. If the environment is not suitable, it could lead to faults and affect the longevity of the product.
In order to align the products with the installation space conditions, we recommend that you store the profiles and adhesives at room temperature and wait 24 hours before installing.
During this time, you can ensure that the walls and ceilings are flat by sanding and washing them. Finally, make sure the space is as dust-free as possible and free of any grease.
Tools
Some tools that we recommend you use when installing our coving products:
-
- Fisco Big T Tapes measure 5m– to measure the lengths of profile (imagine that!)
-
- Jackhand Saw 13″ Plus – for accurate cutting of profile and superior finish, comes with a grip for comfort.
-
- Mitre box – to help you achieve flawless mitre cuts for the joins in the corners of the room
-
- pencil – to mark mitre and cutting lines
-
- scraper, spatula and filling tools – to remove any remnants of sealant and smooth out visible joints
-
- adhesives – to ensure a quality installation, read on to find out about the sealants that are best for our coving range
-
- sandpaper – to smooth any remaining lumps before painting.
Sealants and adhesives
Using sealants that compliment the properties of the coving profile is essential in the quality of the installation. Here are some of the sealants we recommend:
Orac Deco Fix Extra Joint Glue – fixes the profile to the wall, suitable for heavy profiles and exterior applications, non-porous surfaces or damp environments.
Orac Deco Fix Power Coving Adhesive – for gluing seem joints between mouldings. The more humidity, the faster the drying time.

Installation and Finishing
Your project may include installing coving to larger rooms, which can seem daunting. Luckily, we have this useful installation guide to help you with the process, ensuring that you achieve the perfect finish.
Here are the 14 simple steps in the process to a great coving installation:


1 – 4 – mark up the cornice mouldings and measure the lengths required and angles of corners using a pencil.
5a-b – mark the mitre on the inside and outside corner and cut the mitres to suit the measurements – use a mitre box as a cutting guide if you need to.

6-8 – apply the Orac Deco Fix Extra Joint Glue over the entire length, position the coving profile and push it firmly into place, then remove excess sealant from the edges of the profile with a scraper or spatula.

9-11 – fitting the joints – apply Orac Deco Fix Power Coving Adhesive in every joint then push the joints firmly together, again – use a scraper or spatula to remove the excess adhesive and spills out of the join after the joint has been joined for 1 hour maximum.

12-14 – use DecoFiller, decorators caulk or filler to smooth out any visible joints, and sand back any remaining bumps or flaws. Remove any dust and debris and then, once all the sealants are cured, you can paint!
Got a question about our coving range?
If you need any more guidance on how to install our coving products, we’d be happy to help! Just ask one of our helpful staff at our trade counters or pop us an email!
You can read more about our Orac range here or check out the blog on skirtings if you are needing some ideas. You may find our blog on Ogee designs interesting if you are after a classic or period-style look in your project.